
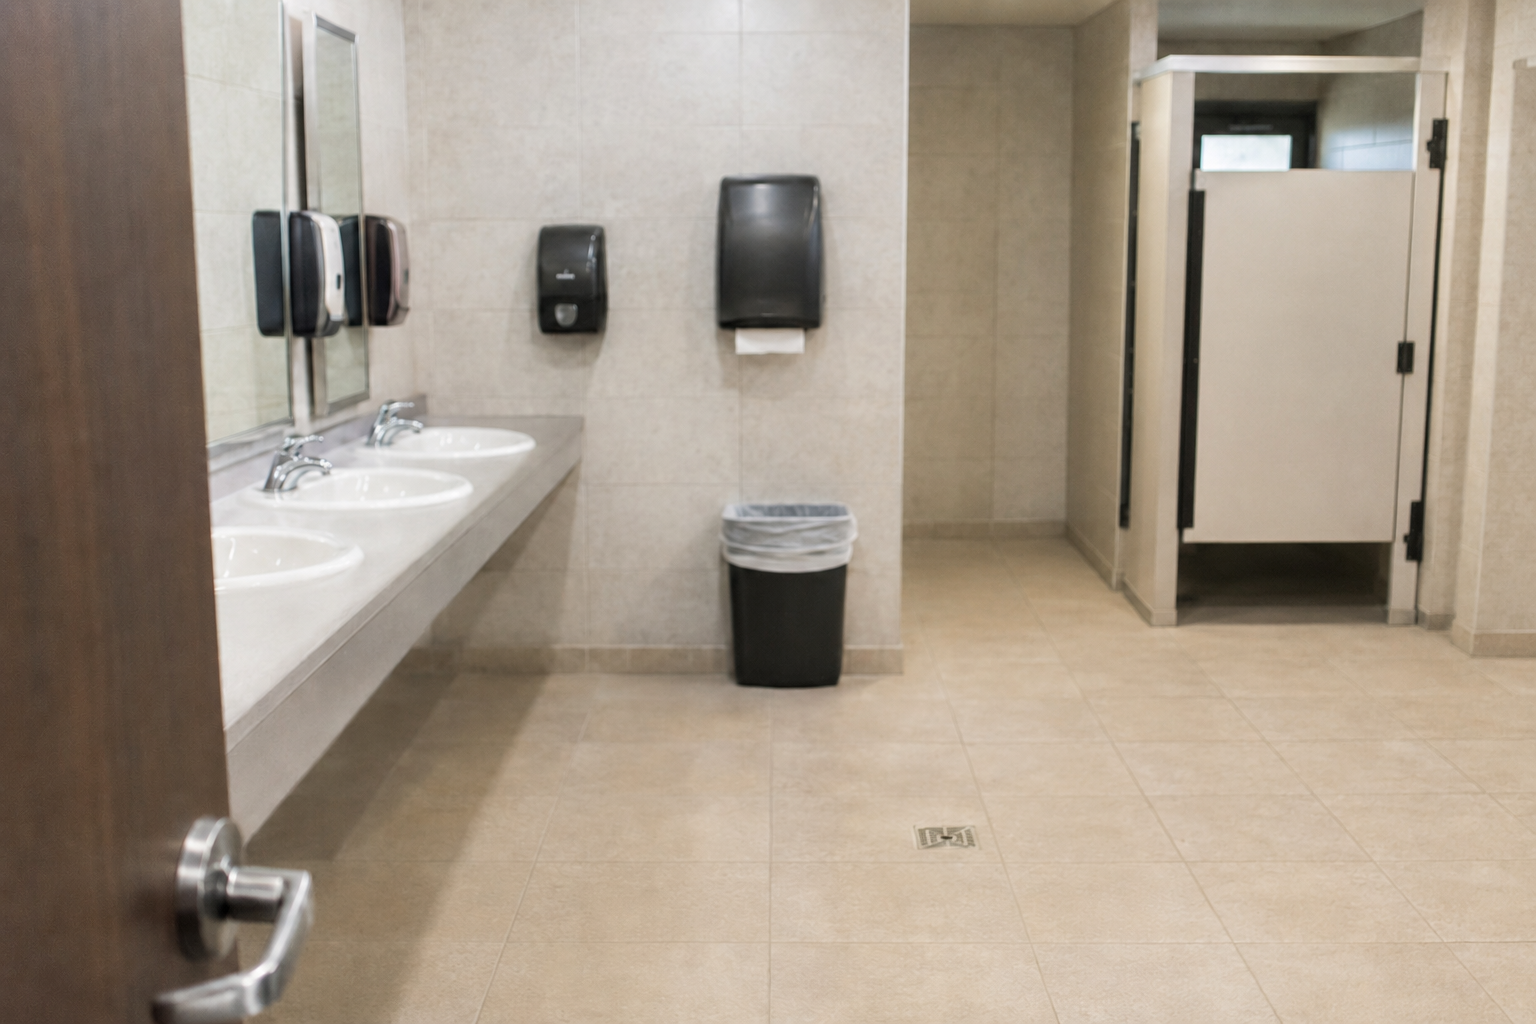
|
THE 30-SECOND VERSION · Organize checks by inspection zone so staff can follow the room in one logical pass. · Separate restocking, cleaning, functional and urgent safety findings. · Use clear pass/fail standards instead of vague prompts such as “check restroom.” · Track repeated failures to improve staffing, par levels, dispensers and preventive maintenance. |
|
WHY MANY CHECKLISTS FAIL |
A checklist can be complete on paper and still produce inconsistent restrooms. The common failure is ambiguity. “Check toilet paper” does not tell the inspector how much product should remain, whether both dispenser positions must be loaded or what to do when a dispenser jams. “Clean sink” does not define whether the task is routine wiping, soil removal or disinfection under a site-specific procedure.
The better approach is to turn expectations into observable conditions. Each line should help a trained employee decide whether the condition passes, needs routine correction or requires immediate escalation. The form should be short enough to use during every scheduled round.
|
BUILD THE CHECKLIST AROUND FIVE INSPECTION ZONES |
|
Zone |
What to inspect |
Examples of an acceptable condition |
|
Entrance and room |
Door, lighting, odor, ventilation, floor and overall appearance. |
Entry operates, lighting works, no standing water or obvious blockage. |
|
Handwashing area |
Sinks, faucets, soap, hand drying, counters and mirrors. |
Fixtures operate; soap and drying supplies are available; surfaces are serviceable. |
|
Toilet and urinal area |
Bowls, seats, flush controls, partitions and surrounding floors. |
Fixtures function, partitions latch, and no leak or overflow is present. |
|
Dispensers and supplies |
Toilet tissue, liners, soap and other site-provided products. |
Approved products are loaded correctly and reserve stock meets the defined par. |
|
Waste and safety |
Receptacles, sharps units where applicable, leaks, damage and access routes. |
Waste is controlled; no urgent hazard, obstruction or damaged fixture is present. |
|
DEFINE INSPECTION FREQUENCY BY DEMAND |
A fixed once-per-day schedule may be adequate for a low-use office restroom and inadequate for a warehouse shift change, school lunch period or public venue. Start with occupancy, operating hours, traffic peaks, complaint history and dispenser capacity. Then schedule rounds before, during or after predictable demand instead of spacing them evenly without regard to use.
|
💡 QUICK TIP For one week, record the estimated supply level at every round. The pattern will show which restroom, shift or dispenser needs a higher par level or an additional inspection. |
|
USE CLEAR CONDITION STANDARDS |
Write checklist items as visible outcomes. “Soap available and dispenser operates” is clearer than “check soap.” “Floor dry or controlled with warning and response in progress” gives staff a decision rule. Where quantities matter, define a trigger such as refill at one-quarter remaining or replace the active roll when the reserve position is empty. The exact threshold should match demand and the dispenser design.
|
Weak checklist item |
Stronger checklist item |
|
Check toilet paper |
Confirm active roll dispenses; reserve position loaded; no roll below site threshold. |
|
Check sinks |
Verify faucet and drain operate; no active leak; basin visibly free of soil. |
|
Clean floor |
Remove visible soil; respond to wet areas immediately; keep access route unobstructed. |
|
Empty trash |
Replace liner at site fill limit; remove overflow; inspect surrounding floor. |
|
Sign sheet |
Record time, initials, exceptions and action taken. |
|
CREATE THREE RESPONSE LEVELS |
|
Level |
Examples |
Expected response |
|
Routine |
Low supply, light soil, liner approaching fill limit. |
Correct during the round and record completion. |
|
Maintenance |
Loose dispenser, slow drain, failed latch, recurring leak. |
Create or route a work request; apply a temporary control if needed. |
|
Urgent |
Overflow, standing water, exposed sharp, sewage, electrical concern or blocked access. |
Restrict or close the affected area and escalate under site procedure. |
|
⚠ COMMON MISTAKE Problem: staff check boxes even when the issue remains open. ↓ Why it happens: the form records inspection, not resolution. ↓ Better approach: add fields for corrective action, work-order number, escalation owner and follow-up status. |
|
INCLUDE SUPPLIES WITHOUT TURNING THE FORM INTO INVENTORY |
The inspection form should verify service readiness, while the storeroom system manages case inventory. In the restroom, record whether dispensers are functional, correctly loaded and above the refill threshold. At the supply point, maintain par levels based on usage and delivery lead time. Connecting the two systems helps managers distinguish a restocking failure from a purchasing or dispenser-capacity problem.
· List the approved tissue, soap, liner and hand-drying products for the location.
· Use dispenser-specific refill points rather than one rule for every model.
· Keep backup supplies secure, dry and close enough for efficient rounds.
· Flag substitutions so compatibility or performance problems can be traced.
· Review repeated runouts before simply increasing every par level.
|
SAMPLE INSPECTION SEQUENCE |
|
Order |
Inspector action |
|
1 |
Pause at the entrance: assess access, odor, lighting and the overall room. |
|
2 |
Inspect sinks, soap and hand-drying supplies; test operation where appropriate. |
|
3 |
Move through toilet and urinal fixtures; check function, partitions and nearby floors. |
|
4 |
Load approved toilet tissue and other supplies to the defined threshold. |
|
5 |
Inspect waste containers, floor condition and any damage or leak. |
|
6 |
Correct routine issues, document exceptions and escalate unresolved findings. |
|
WHAT TO DOCUMENT |
· Restroom or location identifier.
· Date, inspection time and inspector initials or ID.
· Pass, corrected, maintenance or urgent status for each exception.
· Supply replenished or quantity added when usage tracking is valuable.
· Corrective action taken and time completed.
· Work-order or escalation reference for unresolved conditions.
· Follow-up verification when the room was closed or a temporary control was used.
|
ⓘ DID YOU KNOW? OSHA’s general-industry sanitation standard requires workplace toilet facilities and addresses sanitary conditions. A facility checklist can support consistent service, but it should be tailored to the regulations and accessibility, health and safety requirements that apply to the site. |
|
REVIEW THE DATA—NOT JUST THE FORMS |
Completed inspections can reveal operating problems that individual rounds cannot. Review runouts, repeat clogs, damaged dispensers, leak locations, peak service times and unresolved work orders. If the same issue appears repeatedly, change the system: adjust the route, increase capacity, repair the fixture, relocate stock or revise the approved product.
|
✓ KEY TAKEAWAY A better restroom checklist defines observable standards, follows a logical room sequence and connects every failed check to a corrective action. Keep it short enough to use and specific enough to manage. |
|
CONCLUSION |
The best restroom inspection checklist is not the longest. It is the one that helps staff notice the right conditions, act consistently and communicate what remains unresolved. Build the form around the room, set thresholds that match real demand and use recurring findings to improve the facility instead of repeatedly correcting the same symptoms.
Compliance note: Adapt the checklist to applicable OSHA sanitation rules, accessibility requirements, local health codes, building policies, manufacturer instructions and any special healthcare, education or food-service procedures.
Explore Toilet Paper
Share:
Bubble Wrap vs. Foam vs. Loose Fill: Which Protective Packaging Should You Use?
Common Toilet Paper and Dispenser Compatibility Problems