
|
THE 30-SECOND VERSION ✓ Start with the application and required print area, then confirm the printer can accept that label width and length. ✓ Match the core diameter and outside roll diameter to the printer or external media holder. ✓ Confirm labels-per-roll, orientation, perforations, gap or black-mark sensing, and print method before ordering. ✓ Use a saved specification or sample roll for repeat purchases instead of relying on appearance. |
WHY LABEL DIMENSIONS ALONE ARE NOT ENOUGH
A label described as “4 × 6” identifies the face dimensions, but it does not guarantee that the media will load, track, sense, or print correctly. The same 4 × 6 label may be supplied on different cores, with different outside diameters, in roll or fanfold form, and for direct thermal or thermal transfer printing.
A mismatch can stop a packing line even when the label itself looks correct. The goal is to build a complete media specification that connects three things: the information being printed, the printer’s physical limits, and the way employees use and replenish the labels.
STEP 1 — CHOOSE A SIZE BASED ON THE APPLICATION
Begin with the smallest label that presents the required information clearly and leaves adequate quiet space around barcodes. Shipping labels commonly use a 4 × 6 format because it accommodates carrier information, routing data, addresses, and barcodes. Smaller labels may be better for inventory locations, product identification, pricing, or internal tracking.
Orientation matters. In product listings, dimensions are commonly expressed as width across the web by length in the feed direction. Confirm how your supplier and printer documentation define those dimensions, especially when artwork or preprinted elements must align precisely.
|
Typical size category |
Common operational fit |
Confirm before choosing |
|
|
4 × 6 in. |
Parcel shipping and logistics |
Carrier template and printer width |
|
|
4 × 2 or 4 × 3 in. |
Cartons, inventory, routing |
Barcode size and required text |
|
|
3 × 2 or 3 × 1 in. |
Bins, products, internal IDs |
Scan distance and available surface |
|
|
2 × 1 in. and smaller |
Compact product or location IDs |
Print resolution and legibility |
|
|
💡 QUICK TIP Print the intended label design at actual size on plain paper. Place it on the box, bin, or product and test the barcode from the normal scanning distance before committing to a large order. |
|
||
STEP 2 — MATCH THE CORE AND ROLL DIAMETER TO THE PRINTER
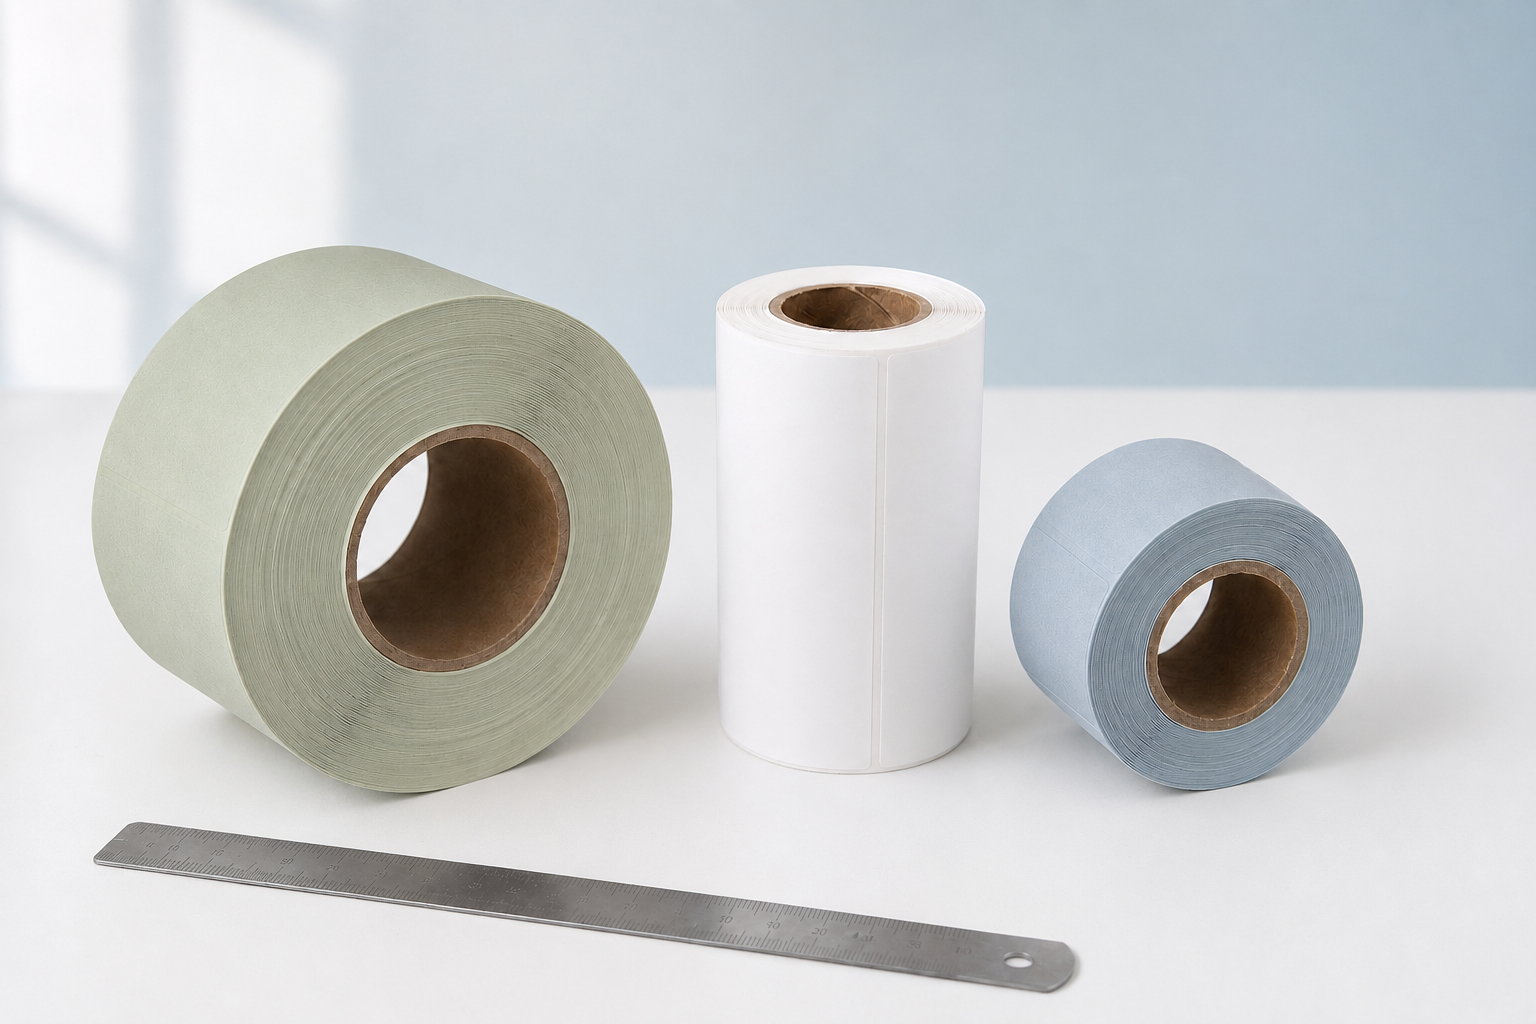
The core is the cardboard or plastic center around which roll labels are wound. Desktop printers often accept smaller cores and smaller outside roll diameters, while industrial printers and external unwinders may accept larger rolls. BuyRight’s label collection includes products on different core sizes, including 1-inch and 3-inch configurations, so the core must be treated as a required specification—not a minor packaging detail.
Core diameter and outside roll diameter work together. A correct core does not help if the finished roll is too large for the printer compartment. Larger rolls can reduce changeovers, but only when the printer or external holder is designed to feed them consistently.
Core-and-roll verification checklist
1. Printer model and manufacturer-approved media specifications
2. Inside core diameter
3. Maximum outside roll diameter
4. Maximum media width and minimum media width
5. Labels per roll and expected changeover frequency
6. Internal roll holder versus external media stand
|
⚠ COMMON MISTAKE Problem: buying the largest roll to reduce changeovers. ↓ Why it happens: more labels per roll appear automatically more efficient. ↓ Better approach: verify printer clearance, roll weight, unwind resistance, and feed path first. A roll that does not fit—or feeds inconsistently—creates more downtime than it saves. |
STEP 3 — SPECIFY HOW THE MEDIA IS CONSTRUCTED AND SENSED
Printers must detect where one label ends and the next begins. Die-cut labels may be separated by gaps, holes, notches, or black marks. Perforations can make individual labels easier to separate, but they are not the same as the sensing mark the printer uses. Confirm which sensing method the printer supports and how its sensor aligns with the media.
Also record the winding direction: labels may face inward or outward, and the top of the artwork may lead or trail as the roll unwinds. This can affect automatic applicators and certain feed paths. For fanfold media, record the stack dimensions, fold direction, and where the media enters the printer.
BUILD A REPEATABLE LABEL SPECIFICATION
A short specification sheet makes purchasing faster and protects the operation when employees, suppliers, or printer models change. Attach a product number, photo, or sample label when possible, but do not use those as substitutes for measurements.
|
Specification field |
Example entry |
|
Print method |
Direct thermal |
|
Label dimensions |
4 in. wide × 6 in. long |
|
Media format |
Roll; labels wound out |
|
Core / outside diameter |
1-in. core / printer-approved OD |
|
Sensing and separation |
Gap sensed; perforated liner |
|
Material and adhesive |
Paper; permanent adhesive |
|
Printer and application |
Packing station printer; parcel shipping |
CONCLUSION: TREAT EVERY LABEL AS A SYSTEM COMPONENT
Choosing labels by width and length alone leaves too much to chance. A reliable purchase connects the application, printer, roll geometry, sensing method, print technology, and workplace setup. That complete view reduces misfeeds, calibration problems, partially used rolls, and emergency substitutions.
Once a configuration performs well, save it as an approved item with the printer model and use case. A repeatable specification allows purchasing teams to compare alternatives without accidentally changing a detail that affects production.
|
KEY TAKEAWAY The right label is not simply the right size. It is the size, core, roll diameter, winding direction, sensing method, print technology, material, and adhesive that work together in one printer and one application. |
Explore Labels
Share:
Roll Labels vs. Fanfold Labels: Which Format Is Better?
Direct Thermal vs. Thermal Transfer Labels: What’s the Difference?